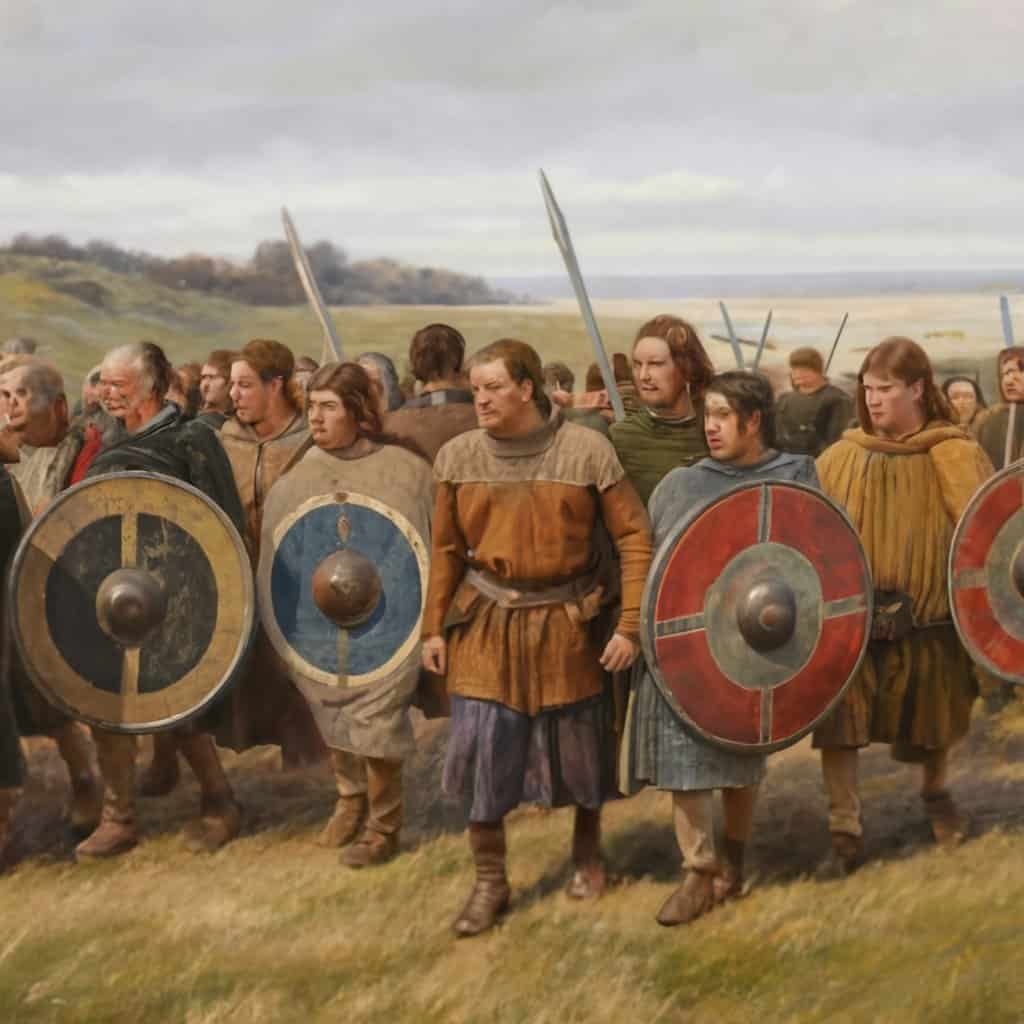
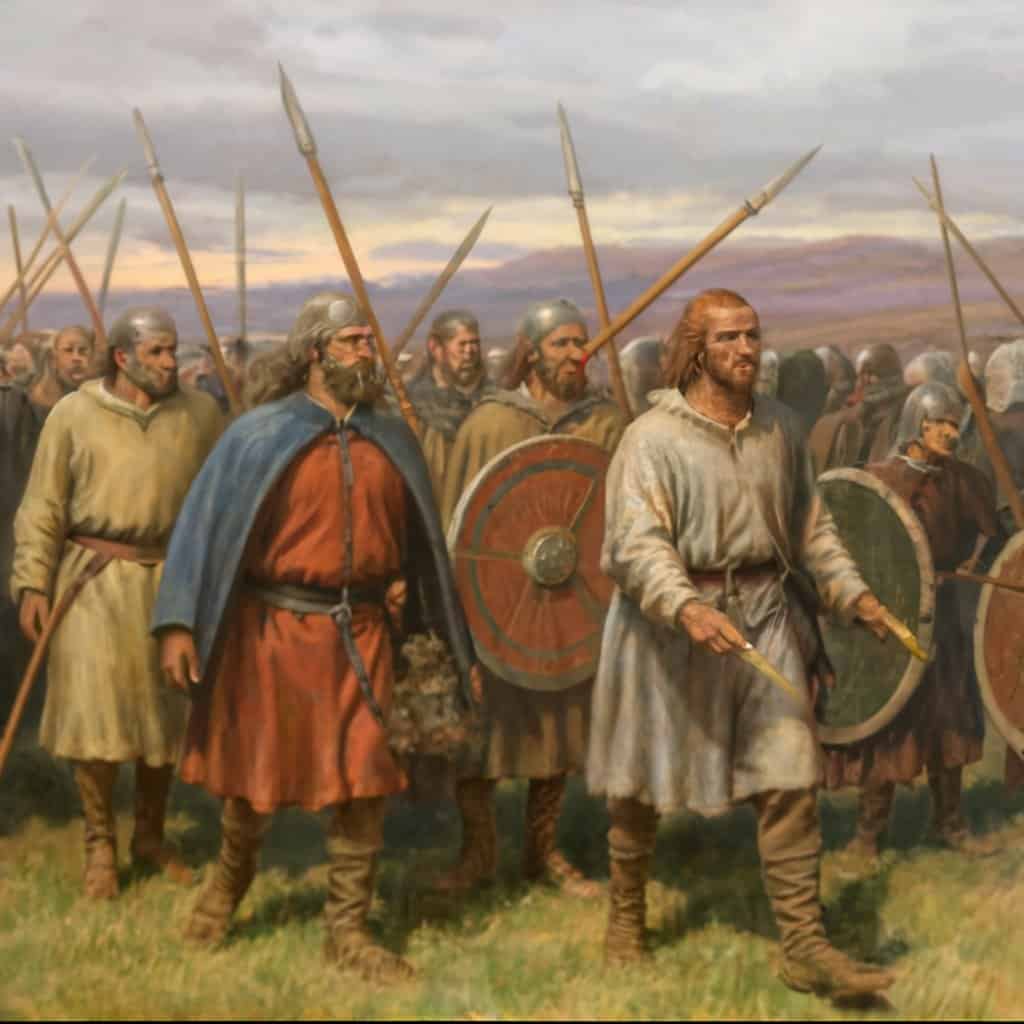
The Anglo-Saxons, a Germanic people who settled in England during the early medieval period, employed advanced shield formations in warfare.

These formations were essential for defense and tactical maneuvering on the battlefield. In this article, we’ll explore 10 key facts about Anglo-Saxon shield formations.
1. The Scutum: A Crucial Defensive Tool
Scutum Design
The Anglo-Saxons used a shield known as the “scutum.” It was typically oval or kite-shaped, made of wood covered with leather, and reinforced with metal bosses and rims. The scutum provided excellent protection against various weapons.
Size Variations
Scuta varied in size, with some being large enough to cover the entire body, while others were smaller and more maneuverable for offensive purposes.

2. The Shield Wall: A Defensive Fortress
Formation Basis
The most famous Anglo-Saxon shield formation was the “shield wall.” Warriors stood side by side, interlocking their shields to form a solid barrier that was nearly impenetrable.
Strategic Advantages
The shield wall offered protection from enemy missiles and melee attacks. It allowed Anglo-Saxon warriors to advance or hold their ground effectively.

3. Shield Wall Tactics: Offense and Defense
3.1 Defensive Use
The shield wall was primarily a defensive formation. Anglo-Saxon soldiers used it to hold key positions and protect themselves from enemy onslaughts.
3.2 Offense
In offensive situations, the shield wall could also be used to advance steadily, protecting the warriors as they closed in on their foes.

4. Shield Bearers: Skilled Fighters
Role of Shield Bearers
Warriors who formed the shield wall were often the elite of the Anglo-Saxon army. They were well-trained and skilled in using their shields both offensively and defensively.
Collective Defense
The strength of the shield wall depended on the discipline and cooperation of individual shield bearers, as they needed to work together seamlessly.
5. Shield Blinding: A Defensive Technique
Use of the Shield
Anglo-Saxon warriors sometimes used their shields not just for protection but also as a weapon. They could slam their shields into their opponents, momentarily blinding them.
6. Shield Decoration: Symbols and Identity
Personalization
Anglo-Saxons often decorated their shields with symbols, personal emblems, or clan markings. This served both aesthetic and functional purposes.
Identity and Loyalty
The decorations on shields helped identify warriors and their loyalties on the battlefield, allowing for organized formations.
7. Shield Wall Evolution: A Battle-Changing Tactic
The shield wall was instrumental in the Anglo-Saxon victory against Viking invaders at the Battle of Stamford Bridge in 1066, showing its effectiveness in shaping the course of history.
8. Decline of the Shield Wall
As warfare evolved, especially with the introduction of the longbow, the shield wall became less practical. It gradually gave way to more mobile and flexible tactics.
9. Influence on Medieval Warfare
The shield wall left an indelible mark on medieval warfare. Similar formations were used by subsequent armies, adapted to suit their needs.
10. Reenactment and Historical Interest
Today, historical reenactors and enthusiasts continue to study and recreate Anglo-Saxon shield formations, shedding light on this fascinating aspect of medieval warfare.
Anglo-Saxon shield formations, particularly the shield wall, played a pivotal role in shaping the strategies and outcomes of battles during the early medieval period in England. These formations were a testament to the tactical ingenuity and disciplined coordination of the Anglo-Saxon warriors.


